Repotting indoor plants can be very easy if done the right way. Here are a few tips that are important to know when repotting indoor plants.
7 Tips for Repotting Indoor Plants that can Make Anyone Have a Green Thumb
- Repot or not to repot. Repotting indoor plants does not need to be done that very often. At most, repot a plant every 2 years. As long as the plant is getting the nutrients and water it needs it does not need to be repotted. Check the roots at the bottom of the root ball. If there are not a lot of roots circling the bottom of the pot, don’t repot it.
- What pot size to use when repotting indoor plants? When looking for the new pot to put the plant in, only go up one pot size. Too large of a pot can cause the plant to be overwatered. One pot size means moving up 2” in diameter. For example, if the plant is in a 4” pot, repot it into a 6”pot.
- Choosing a pot. Select a pot that is well drained. In addition, you can also add some stones or broken clay pieces to the bottom to add to drainage.
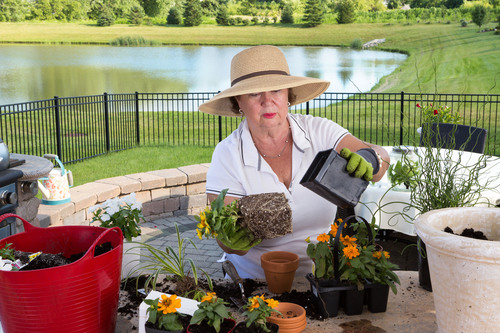
- What should the roots look like? When you take the plant out of the pot, look at the roots at the bottom of the root ball. Are the roots going in a circle at the bottom? If so, then they’re root bound. If this is the case, loosen up the roots a bit to get them to grow into the new soil. Don’t worry if you break them a little bit. It’s important to get the roots to grow out, and not strangle themselves.
- What type soil? For most plants, use a soil that is light in weight and contains a lot of organic material. You want the soil to hold water and allow the roots to breath. Common components of potting soil are organic materials, like peat moss or compost, perlite and/or vermiculite for air and drainage, sand and a slow release fertilizer.
- Filling the new pot. Put soil in the bottom of the pot and pack it down firmly, then put the plant in the pot and fill in the sides. Pack the sides down firmly as well. You don’t want the plant to settle down later and the pot is only half full with soil.
- Watering: Make sure to water the newly repotted plant thoroughly after repotting. Don’t water again until the soil dries out on the top few inches.